Pool Pump Not Priming? Quick Fixes for Pool Owners
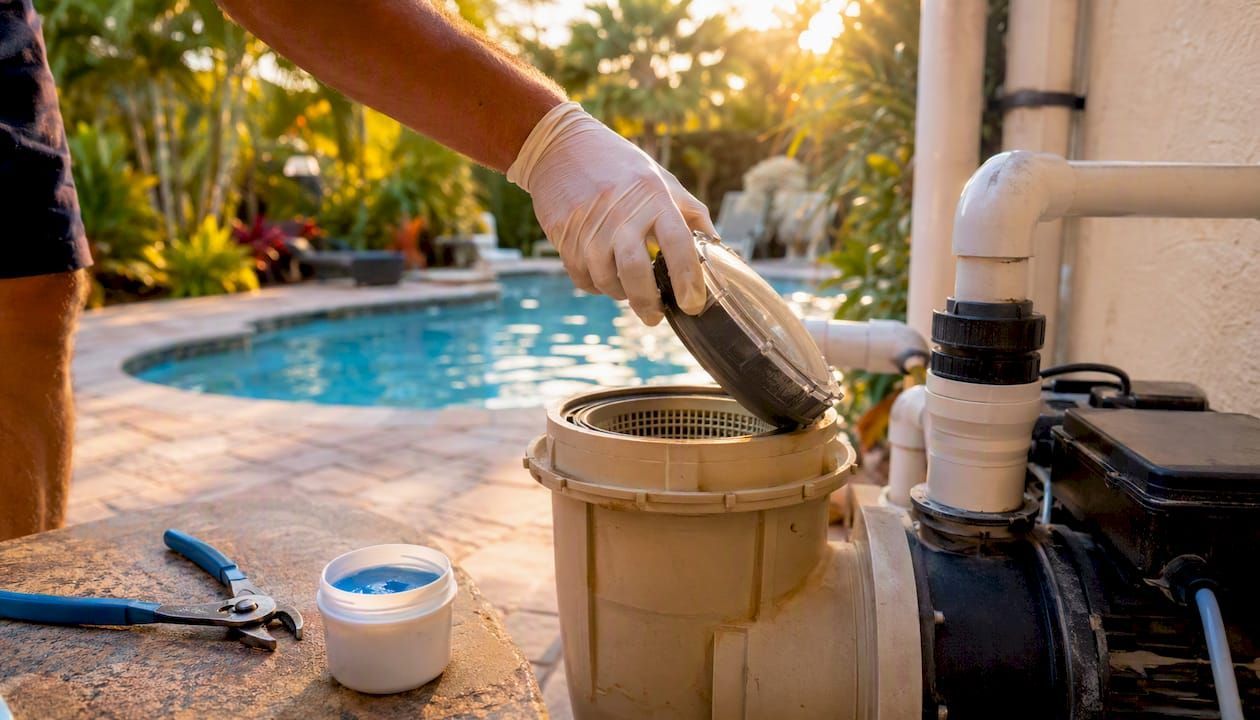
Turn the pump off, fill the pump basket with a garden hose, reseat the lid with a light coat of lubricant on the O-ring, then restart at the lowest speed setting. Never run a pump dry longer than two minutes: dry running can damage the shaft seal that fast, and a single-speed pump won’t shut itself off to protect you.
Before you touch anything else, check three things:
- Water level — the skimmer opening needs to stay submerged.
- Pump basket — it should be full and free of debris, not half empty or bone dry.
- Lid O-ring — dry, cracked, or dusty O-rings are the single most common reason air sneaks in.
Pro Tip: Keep a spare lid O-ring and a small tub of pool lubricant in your equipment shed. A five-dollar part fixes the majority of priming complaints, and you won’t be stuck driving to the pool store while your pump sits dry.
Key Takeaways
A pool pump fails to prime almost always because of a suction-side air leak, and most cases are fixed with a $3 to $15 O-ring rather than a new motor.
| Point | Details |
|---|---|
| Check the basket first | An empty or bubbly strainer basket with a near-zero gauge reading confirms a priming failure, not a motor issue. |
| Start with the lid O-ring | A dry or cracked O-ring is the single most common cause and the cheapest fix at $3 to $15. |
| Respect the two-minute rule | Shut the pump off if it hasn’t primed within two minutes to avoid shaft-seal damage from dry running. |
| Start variable-speed pumps low | Prime IntelliFlo, FloPro, and similar models at 1,000 to 1,500 RPM to prevent false fault codes. |
| Call a pro for motor leaks | Holiday Pools handles shaft-seal replacement and suction-leak repair when water shows up under the motor housing. |
What are the signs my pool pump won’t prime?
A priming problem looks distinct once you know what to check. The pump motor runs, but the pressure gauge sits near zero, the strainer basket looks empty or full of bubbles, and variable-speed models often throw a fault code instead of just spinning uselessly.
- Motor runs, but no water moves through the system.
- Strainer basket is empty, or shows a steady stream of bubbles.
- Pressure gauge reads 0–2 PSI instead of the normal 8 to 25 PSI range for a properly primed system.
- Variable-speed pump displays a priming or no-flow fault code.
If the motor won’t even hum, that’s an electrical or motor issue, not a priming problem. A 30-second visual check of the basket tells you almost everything: a full, bubble-free basket means you’re primed; a half-empty basket means air is getting in somewhere on the suction side.
What causes a pool pump not priming, and how do I fix it fast?
Work through these in order. Most owners fix the problem on the first or second try, because priming failures are almost always small air leaks or worn parts, not motor problems.
- Dry or cracked lid O-ring (most common cause) — pull it out, wipe it clean, coat it with pool lubricant, and reseat it. New O-rings are inexpensive pool parts typically costing a few dollars.
- Loose or cracked lid — hand-tighten (or use the correct locking ring) until it seats evenly; replace a cracked lid outright.
- Suction-side union or valve O-rings — check every union nut and valve stem for looseness or dried gaskets; snug unions by hand, don’t over-torque them.
- Low pool water level — top off the pool until the skimmer stays fully submerged; a skimmer sucking air is a mechanical problem you can’t fix with the pump itself.
- Clogged skimmer, pump basket, or impeller — clear leaves and debris; a clogged impeller starves the pump of flow even with a good seal.
- Loose drain plugs — these small plugs on the pump housing are notorious for leaking air; drain plug O-rings cost $2 to $10 and take two minutes to swap.
- Cracked pump housing — inspect for hairline cracks; a cracked housing means the pump needs replacing, not patching.
Pro Tip: Spray shaving cream or a soap-water mix around unions, the lid, and drain plugs while the pump runs. Where the foam gets sucked in or disturbed, that’s exactly where air is entering. It’s the fastest, cheapest leak-detection method a homeowner has.
How do you prime a pool pump step by step?
The sequence matters more than speed. Rushing the lid or hitting high RPM on a variable-speed pump right out of the gate is how most owners end up back at square one.
- Shut the pump off completely at the breaker or switch.
- Remove the pump lid and set it aside.
- Fill the pump basket area with a garden hose until water reaches the top.
- Reseat the lid, making sure the O-ring sits evenly in its groove, and hand-tighten (or use the bayonet lock, depending on your model).
- Open all suction-side valves fully, including skimmer and main drain lines.
- Start the pump. On single-speed pumps, just switch it on. On variable-speed pumps, start at 1,000 to 1,500 RPM, not the programmed high-speed setting — pulling water in fast can drag air past the seal and trigger a false no-flow fault.
- Watch the basket and gauge. A full basket and a rising, steady gauge reading mean you’re primed.
Never set the multiport valve to BACKWASH or WASTE while priming; it bypasses the filter and confuses variable-speed pumps into faulting out.
A normal prime takes 30 to 90 seconds. If you see no flow after 2 minutes, shut the pump off immediately to avoid dry-run damage, then recheck the lid seal and water level before trying again. If the pump keeps losing prime after briefly catching, that pattern points to an active suction leak rather than a simple airlock.
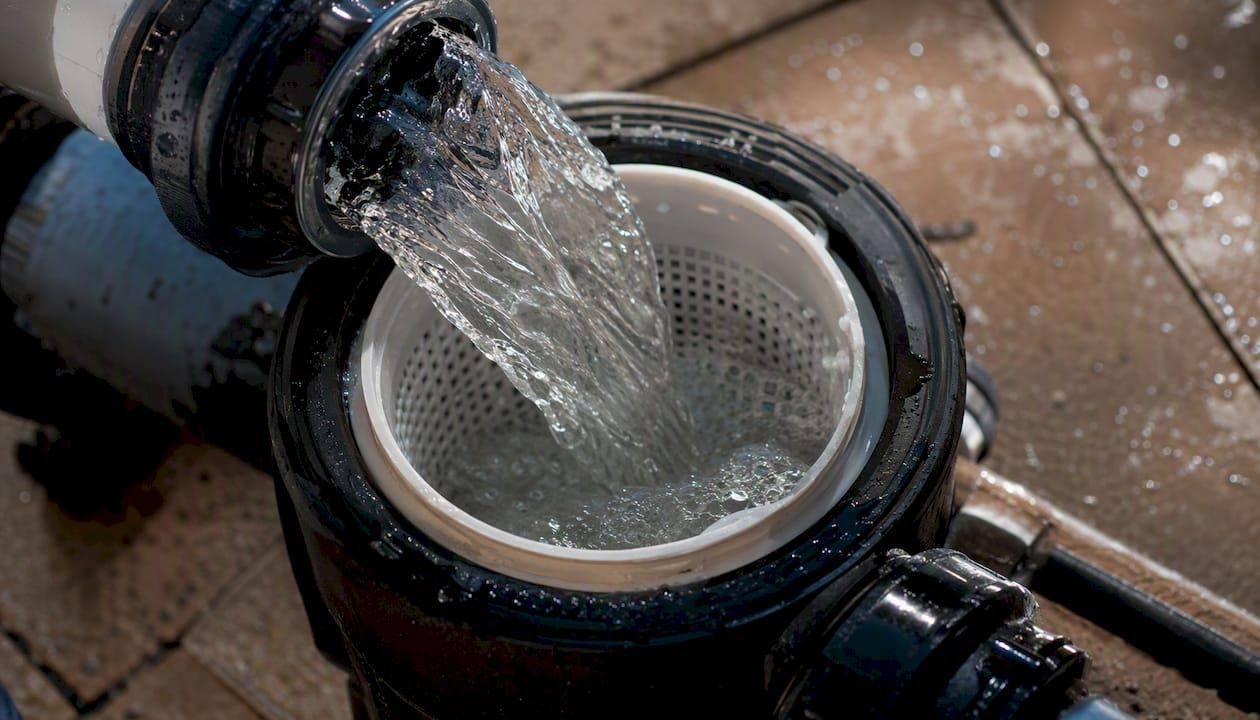
How do you find a suction-side air leak?
Work through this list in order, and don’t skip steps. A leak that only shows up after the pump has run a while behaves differently from one that’s there from the moment you start it.
- Confirm the water level covers the skimmer opening fully.
- Pull the lid O-ring and check for dryness, flat spots, or cracking; relube even if it looks fine.
- Hand-tighten every suction-side union nut.
- Check both drain plugs on the pump housing for snugness.
- Clean out skimmer and pump baskets completely.
- Run the shaving-cream test on every joint while the pump operates.
- Feel around fittings with a dry hand for a faint hiss or airflow.
To isolate the source, close the skimmer valve and run off the main drain only, then reverse it. Whichever line still shows bubbles
in the strainer basket is your culprit. Continuous bubbles point to a permanent leak; bubbles only during startup that clear up and stay clear usually mean a one-time airlock.
Should you repair it yourself or call a professional?
Most of this is homeowner-friendly. O-rings, drain plugs, lid gaskets, and basket cleaning are all $3 to $60 fixes you can knock out in under an hour.
- DIY territory: lid O-ring, drain plug O-rings, cleaning baskets, tightening unions.
- Parts-only repair: a shaft-seal kit runs roughly $20 to $60 in parts, but professional labor typically adds $100 to $300, since the seal’s polished faces can be ruined by finger oils during installation.
- Bigger repair: if the motor itself has taken on water damage, replacement runs $500 to $900 or more.
Stop and call a professional if you see water leaking from under the motor, or heat discoloration or damage on the impeller.
Water dripping at the center
of the pump, between the wet end and motor, is the classic sign of a failed mechanical shaft seal, and that’s not a job for trial and error.
What brand-specific quirks affect priming on Hayward, Pentair, and Jandy pumps?
Lid design and starting speed vary enough between manufacturers that the wrong move can send you right back to square one.
- Hayward (including the Hayward Super Pump): the lid threads on rather than locking with a quarter turn. Check the diffuser O-ring annually, since a worn one is a frequent hidden air source. The SPX2600S2 is the common replacement O-ring for Super Pump models.
- Pentair (including the Pentair IntelliFlo): the lid uses a bayonet-style quarter-turn design, and it needs to click fully into place. On IntelliFlo and similar variable-speed models, priming should begin around 1,000 to 1,500 RPM; a PRI fault means the pump ran roughly two minutes at high RPM without detecting flow and shut itself down as a safety measure.
- Jandy (including the Jandy FloPro): some lids need a strap wrench for a full seal, and under-tightening is the single most common mistake owners make with this brand.
These quirks change the exact lid-torque and starting-speed steps from the general how-to above, so match your fix to your specific pump model.
What expert techniques do most guides skip?
Two minutes. That’s genuinely all it takes for a dry-running pump to start cooking a shaft seal or tripping a variable-speed fault. Start variable-speed pumps low, around 1,000 to 1,500 RPM, every single time you prime, not just on the first attempt.
If you’re replacing a shaft seal yourself, handle the new seal’s polished faces with a clean cloth or gloves. Finger oils and dust on those surfaces are a leading reason replacement seals fail again within weeks.
Pro Tip:
Seat a new mechanical seal by pressing it in evenly with your palm, never a screwdriver or pry bar. Uneven pressure cracks the ceramic face before you even finish the job. If a reprime attempt runs past two minutes with no water movement, power down and start over. Don’t let curiosity keep the pump running “just a little longer.”
What pool pros actually see behind most priming complaints
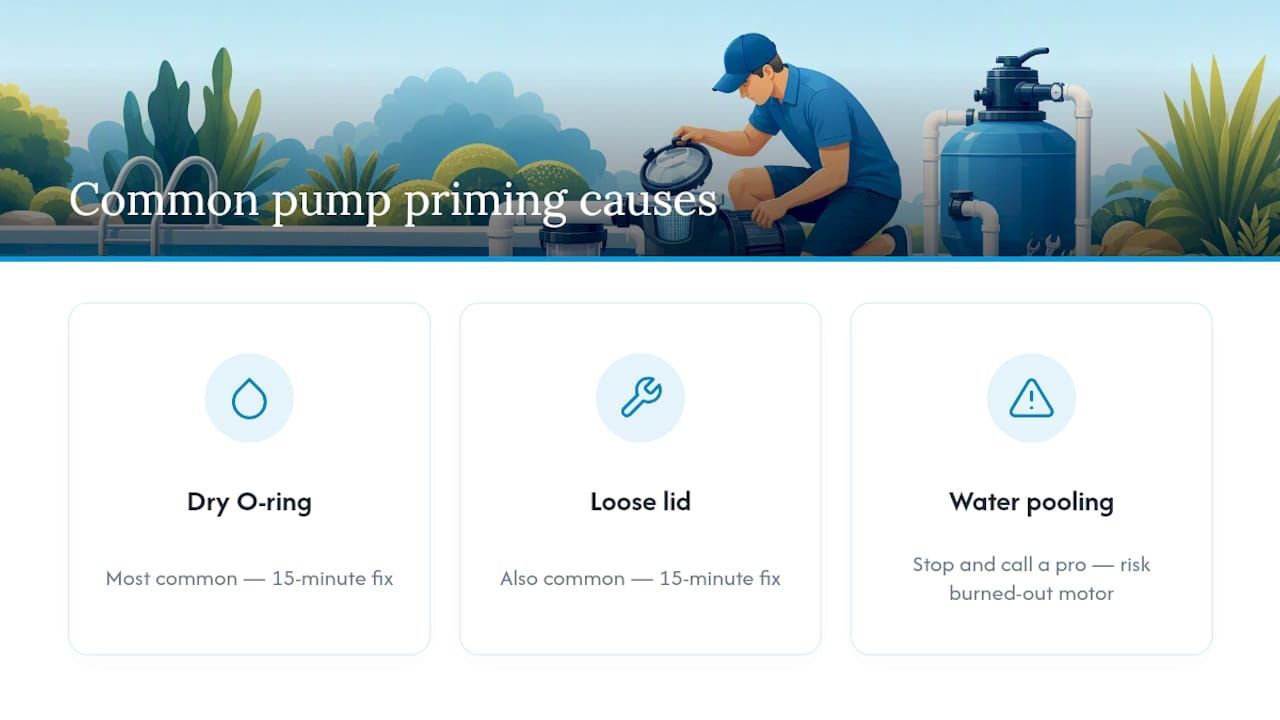
In our experience, priming complaints trace back to a dry O-ring or a slightly loose lid more often than anything else, and that’s an easy fifteen-minute fix. Water pooling under the motor housing, though, is your cue to stop troubleshooting and call someone before a small seal leak becomes a burned-out motor.
When should you call Holiday Pools instead of fixing it yourself?
If you’ve worked through the O-ring, basket, and water-level checks and you’re still seeing air, or worse, you’ve spotted water pooling under the motor or a hairline crack in the housing, that’s the point to stop DIY-ing and bring in a technician. A leaking shaft seal only gets worse with time, and running a pump on a cracked housing risks the motor next.
Holiday Pools of West Florida has been building and servicing pools on Florida’s Suncoast since 1994, and our technicians handle exactly this kind of repair every week, from shaft-seal replacements to full
leak detection and pump repair. We also offer ongoing
pool maintenance service so priming problems like these get caught before they turn into a motor replacement. If your pump is leaking, cracked, or you’d simply rather not crack open the wet end yourself, request an inspection and we’ll diagnose it on-site.
Recent Posts